Create Custom Cell Template for iOS UITableView
This page discuss how you can customize the appearance and presentation of cell template in a table view for iOS to match your business requirement. It is expected that you have successfully displayed a list of data before continuing.
Your apps look better when the cell template are presented more intuitively, for instances, adding a label to a TableViewCell. Crosslight has provided techniques that will help you easily customizing the look of your cell template.
Applied to:
- Crosslight iOS 2.4 or higher
On this page:
Create a Custom Cell Template from Item Template
Customizing item styles in iOS and Android require fairly large number of code and involve a number of steps such as updating the view’s elements from different entry points and synchronize model and view manually. Crosslight provides dozens of item templates to help you quickly create commonly used Crosslight project items. The Crosslight item templates are readily available from Visual Studio IDE. For more information, see Using Crosslight Item Templates.
To add a custom cell template, simply add a new project item from Visual Studio. In the dialog box, choose Crosslight iOS Table Cell for iPhone.
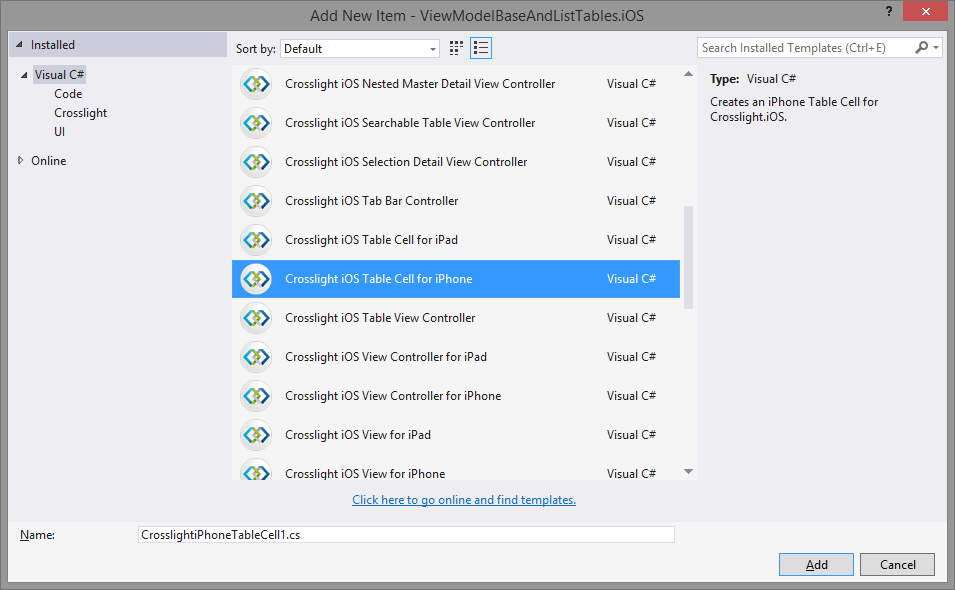
The following shows the class created by the item template.
|
1 2 3 4 5 6 7 8 9 10 11 12 13 |
public partial class CrosslightiPhoneTableCell1 : UITableViewCell { public static readonly UINib Nib = UINib.FromName("CrosslightiPhoneTableCell1", NSBundle.MainBundle); public static readonly NSString Key = new NSString("CrosslightiPhoneTableCell1"); public CrosslightiPhoneTableCell1(IntPtr handle) : base(handle) { } public static CrosslightiPhoneTableCell1 Create() { return (CrosslightiPhoneTableCell1)Nib.Instantiate(null, null)[0]; } } |
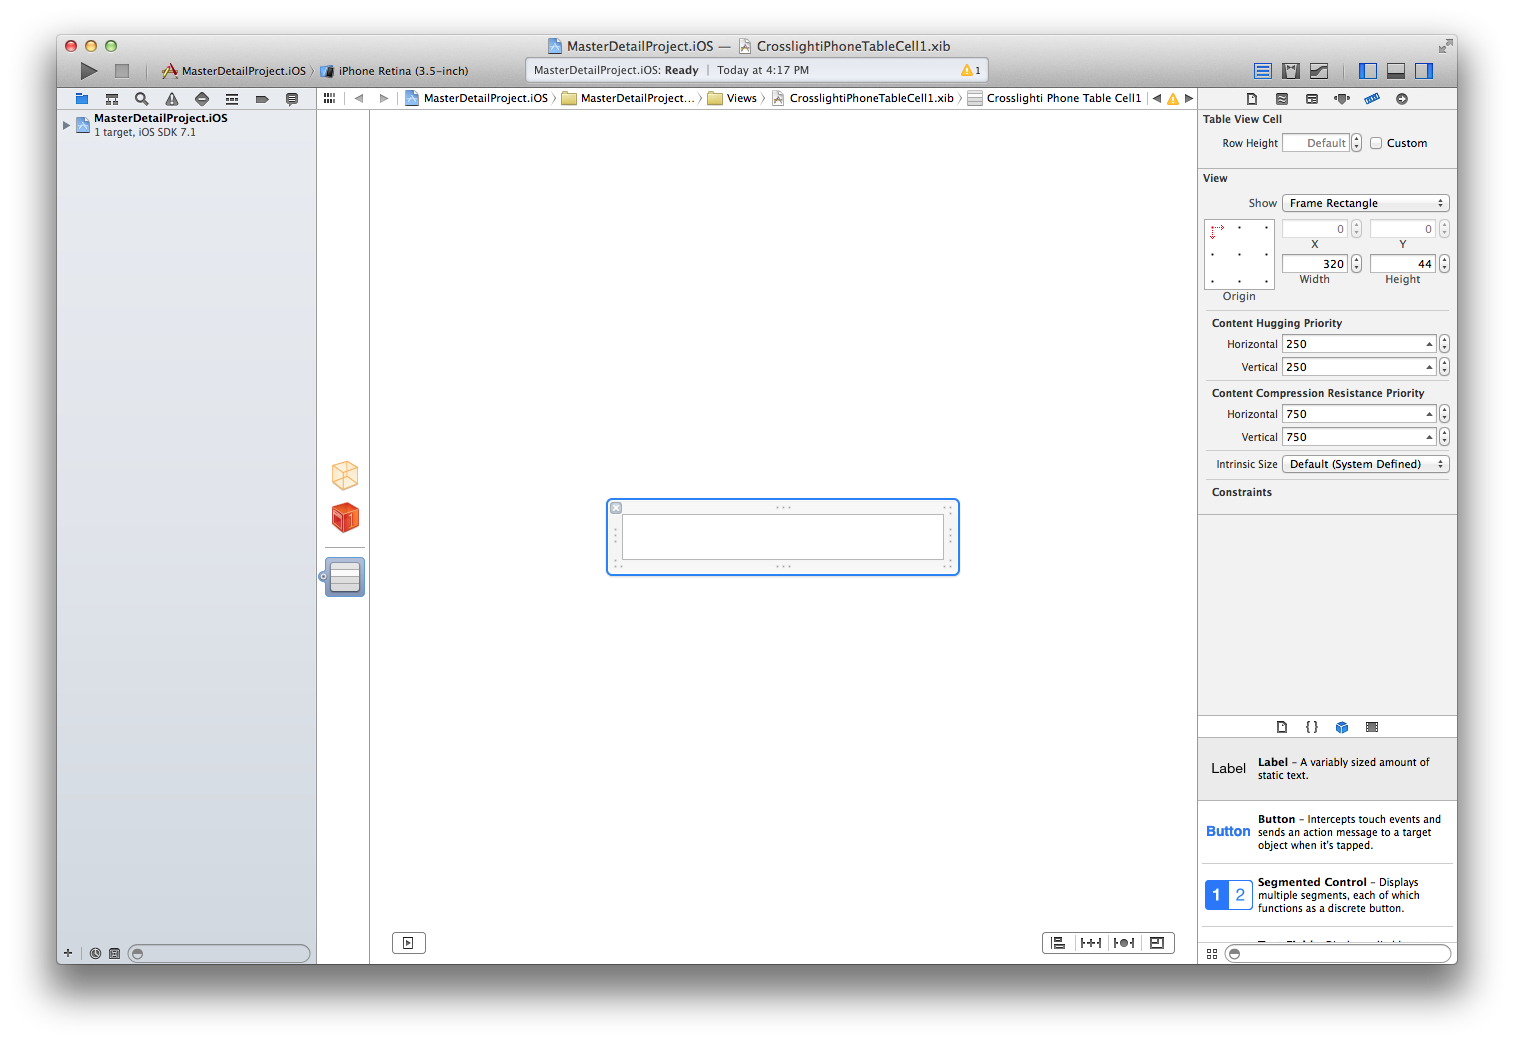
Create View for Custom Cell Template
Next, create a view (also known as interface definition typically with .xib extension). Double click the CrosslightiPhoneTableCell1.xib file in Xamarin Studio and it will open up Xcode. In this sample, a Label will be added.
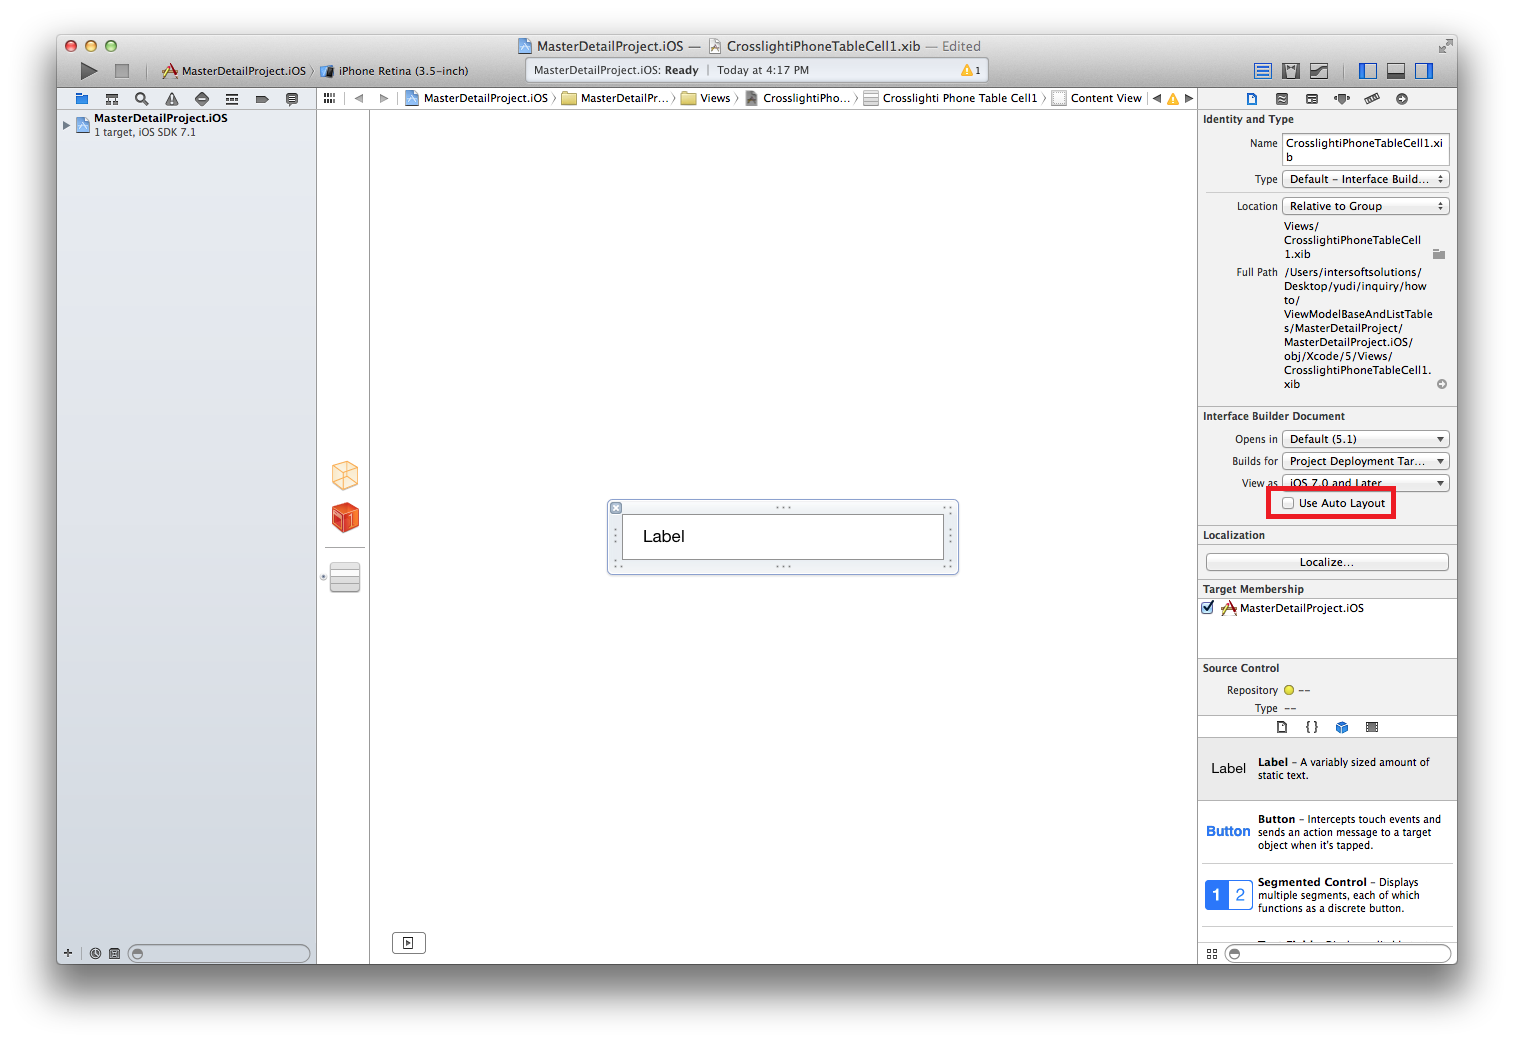
Once you finished the design, make sure that Use Auto Layout is unchecked if your design does not use the iOS auto layout features.
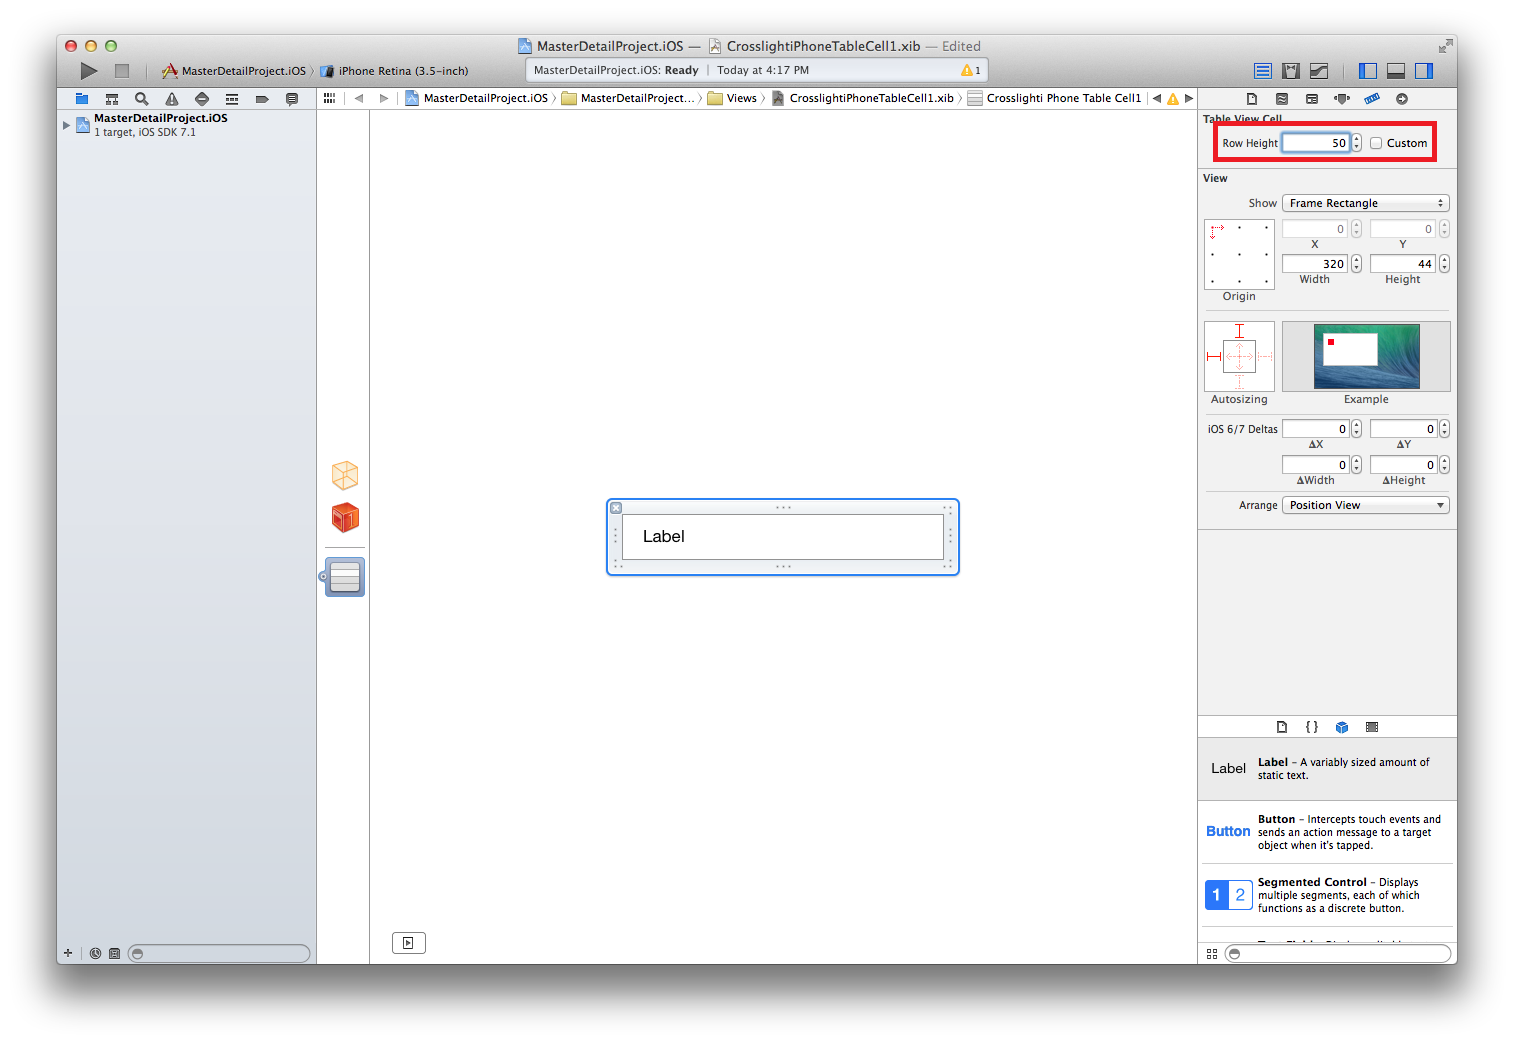
Customize Cell Height
The custom cell height is set to 44 which is the default from the iOS table cell height. If you prefer to design your custom cell with a different height, you can easily set the desired height values directly in the Xcode’s Layout inspector. Make sure the Custom checbox is checked as well. See the following screenshot.
Override CellTemplate and CellStyle
Once you have the custom cell template ready (both the class and the view), the final step is overriding CellTemplate and CellStyle in UITableViewController that consumes the custom cell template. Crosslight provides a class called UIViewTemplate Class which you can instantiate and pass in the UINib instance that represents the custom cell template.
|
1 2 3 4 5 6 7 8 9 10 11 12 |
public override TableViewCellStyle CellStyle { get { return TableViewCellStyle.Custom; } } public override UIViewTemplate CellTemplate { get { return new UIViewTemplate(CrosslightiPhoneTableCell1.Nib); } } |
Configure Binding in BindingProvider
After creating our own custom cell template in the view level, then bind the Label using the BindingProvider Class that contains the definition for the view bindings.
The following example shows how to configure the binding for the above custom cell templates.
|
1 |
itemBinding.AddBinding("Text1", BindableProperties.TextProperty, "Name"); |
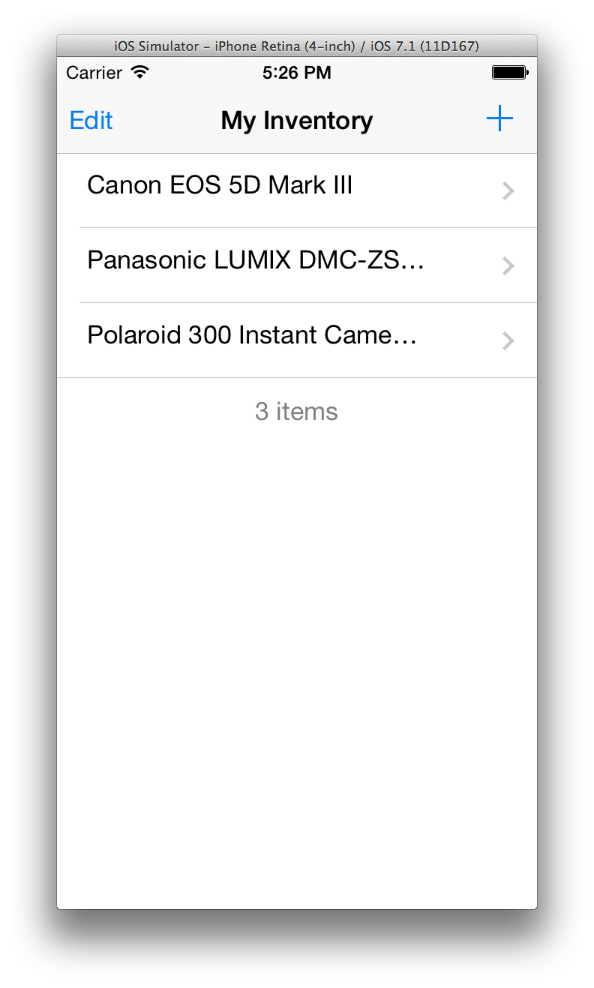
After saving all the changes, you should see the result similar to the following image.
Samples
The sample code for this article can be downloaded from our Git server: http://git.intersoftpt.com/projects/CROS-SUPP/repos/customcelltemplate-for-ios-uitableview/browse.
Related Topics
-
Page:
-
Page:
-
Page:
-
Page:
-
Page:


