Getting Started with Premier Studio 2016
In our past releases, getting started with Intersoft Premier Studio was quite inconvenience and tedious. With tons of shortcuts to choose from, you can be easily confused where to start from. In this release, we think hard on what’s the best possible scenario for users to get started quickly with our products. At the end, we came to a conclusion: samples.
Samples provide a hands-on experience for developers as well as practical code for implementing the desired features to their applications. We’ve made it super easy for you to run the samples and opening the sample solution in Visual Studio, all right from a single web interface.
Introducing the New Get Started Experience
When you install Premier Studio, you’ll get the following dialog box.
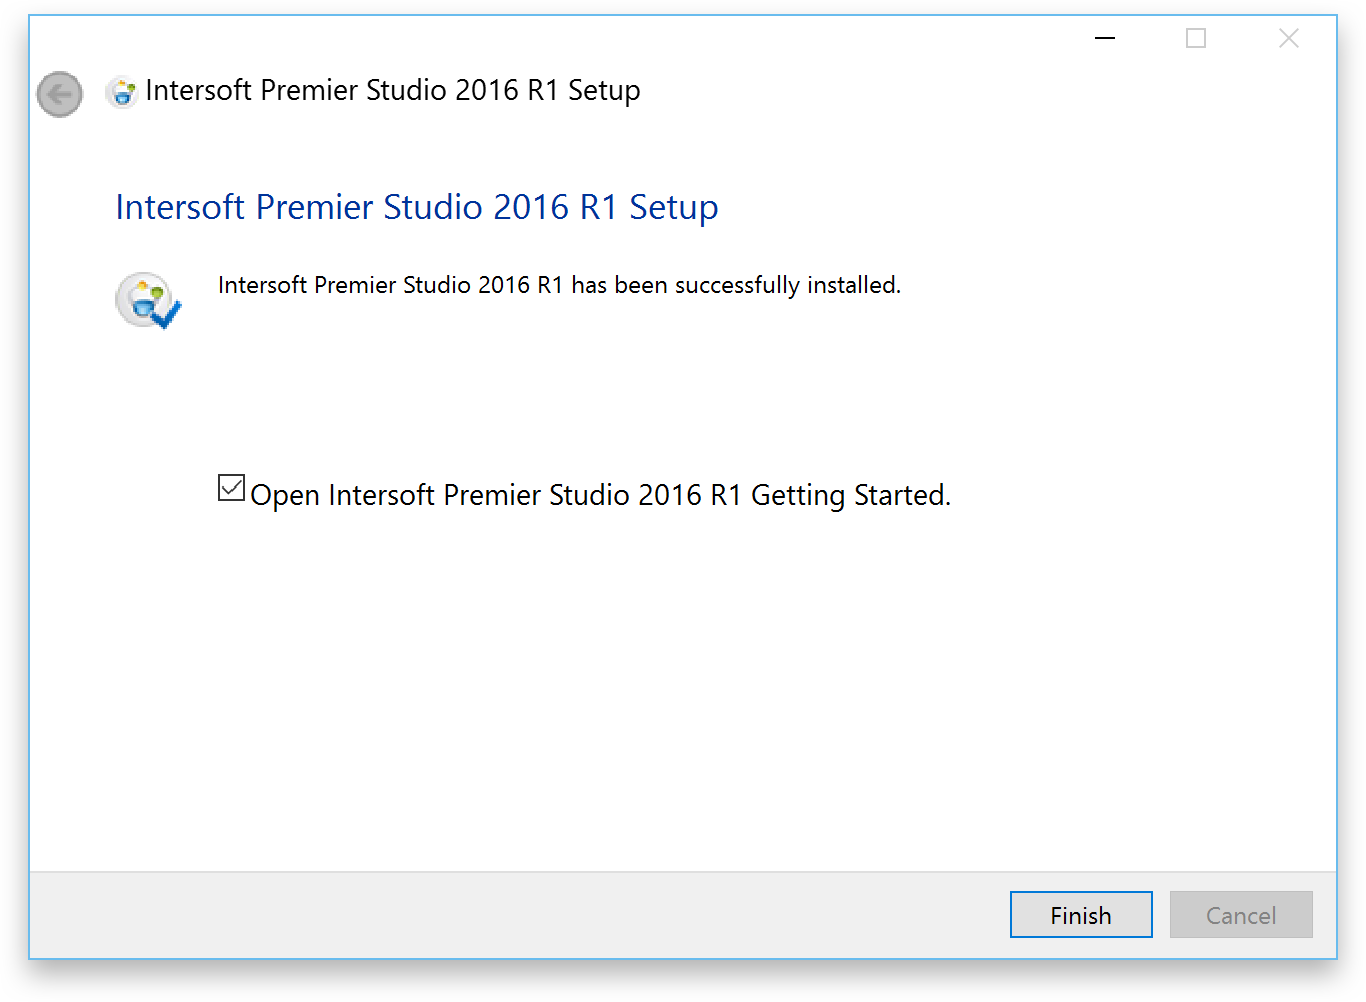
When you click Finish with the checkbox ticked, a new browser will be opened, this will lead you to a landing page that will help you get started with our products (assuming that you have a working internet connection).
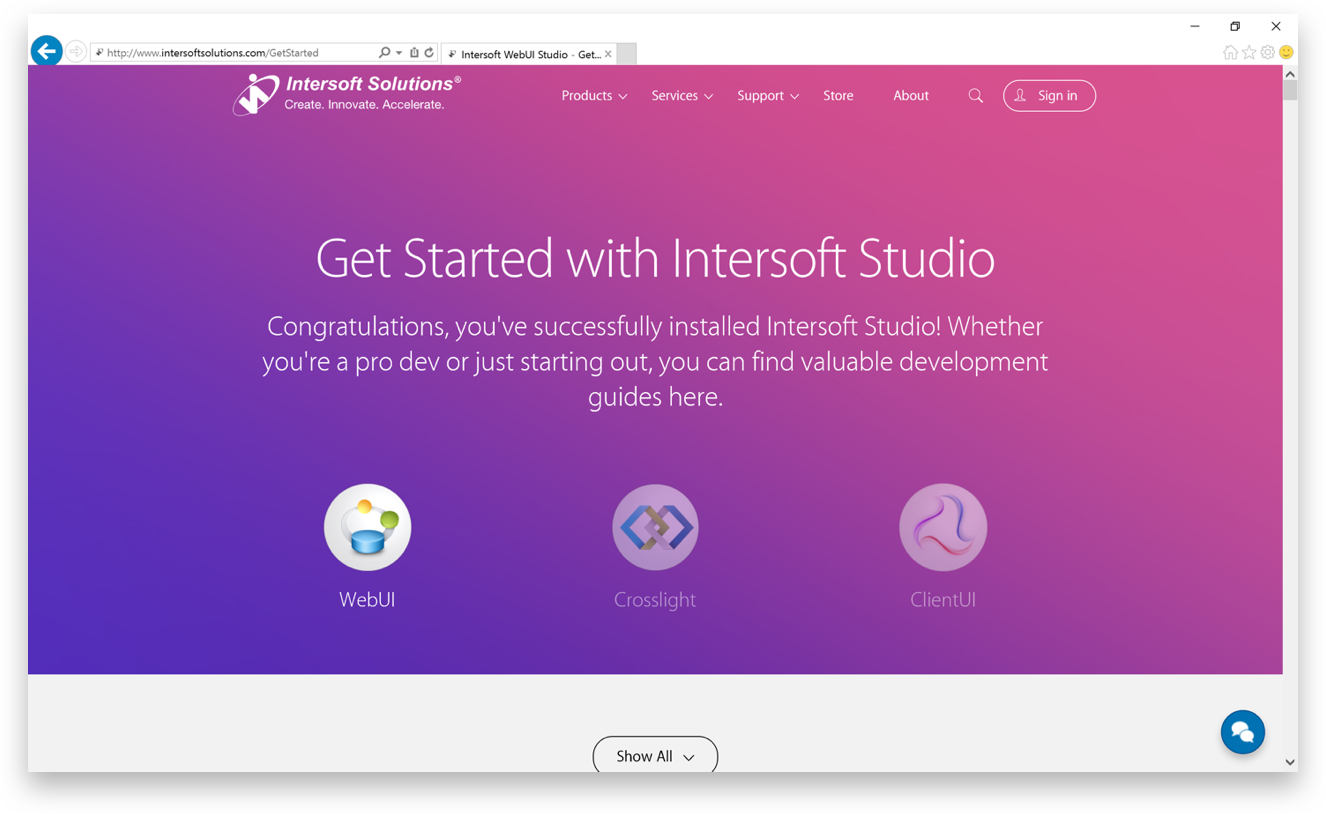
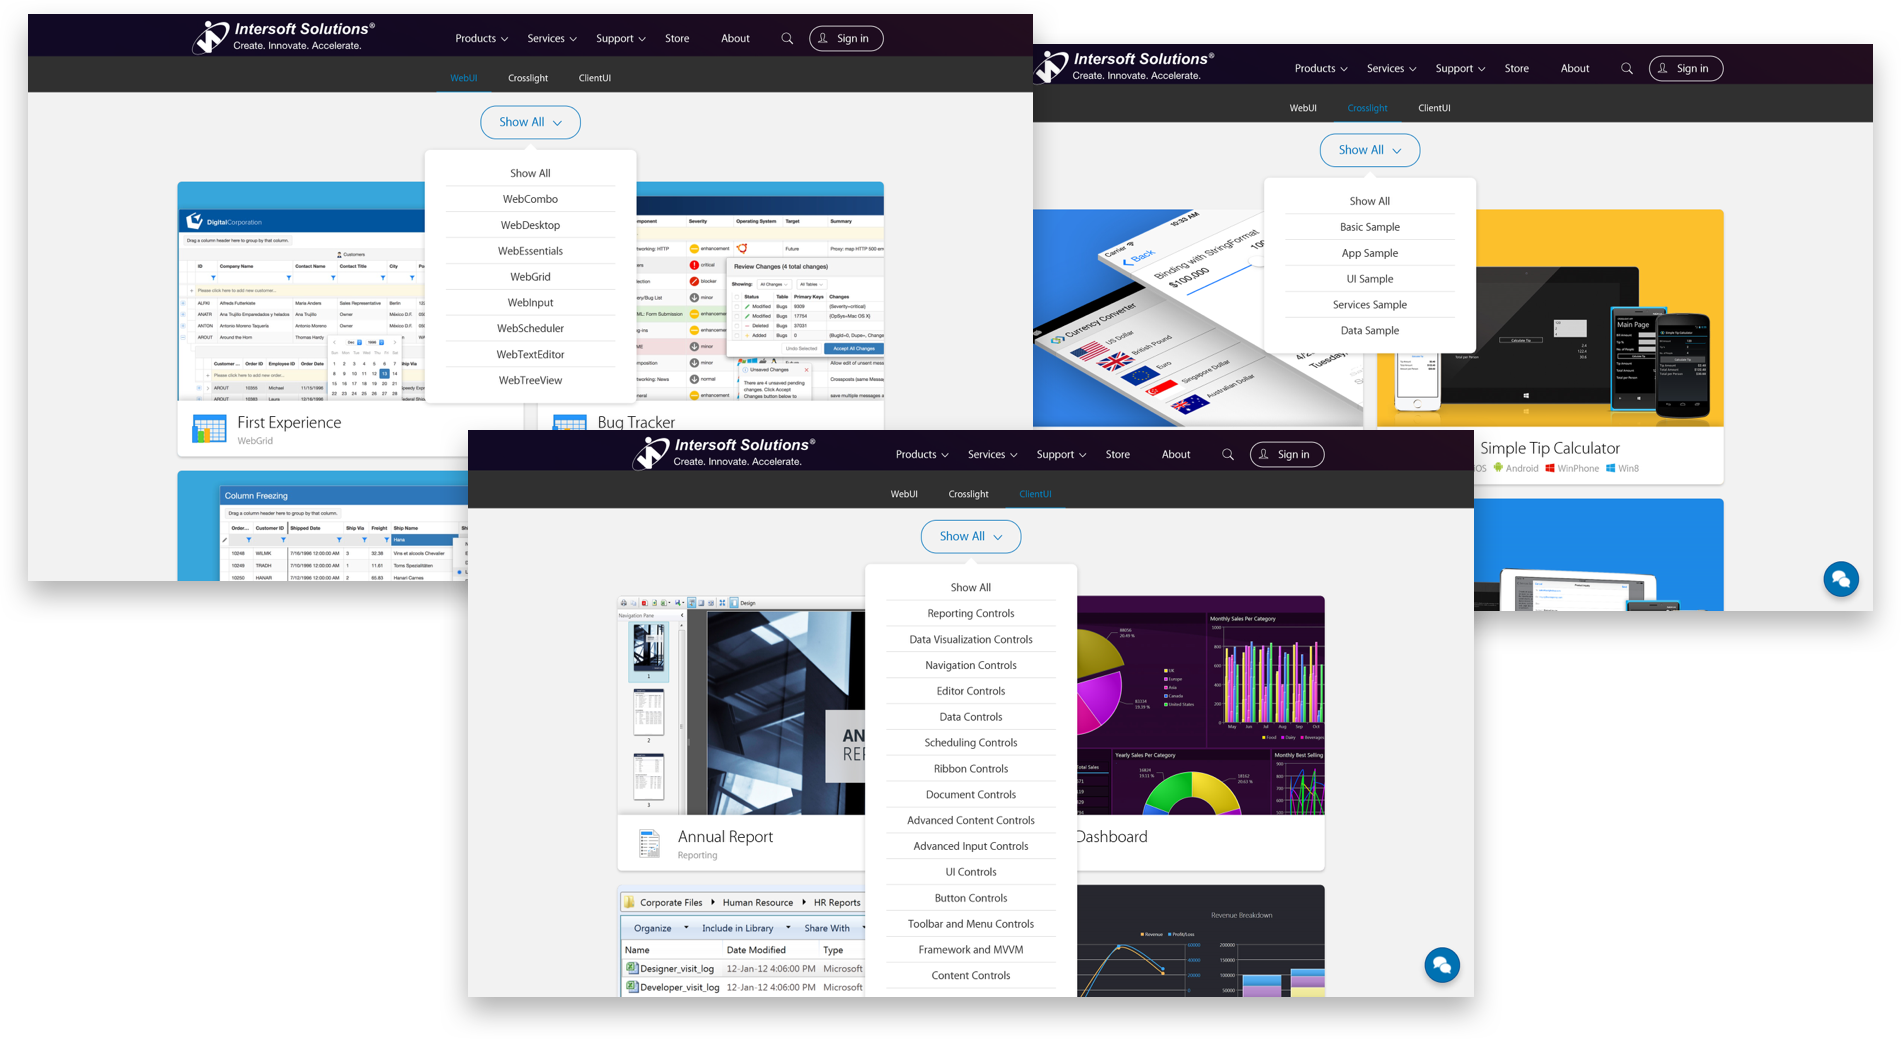
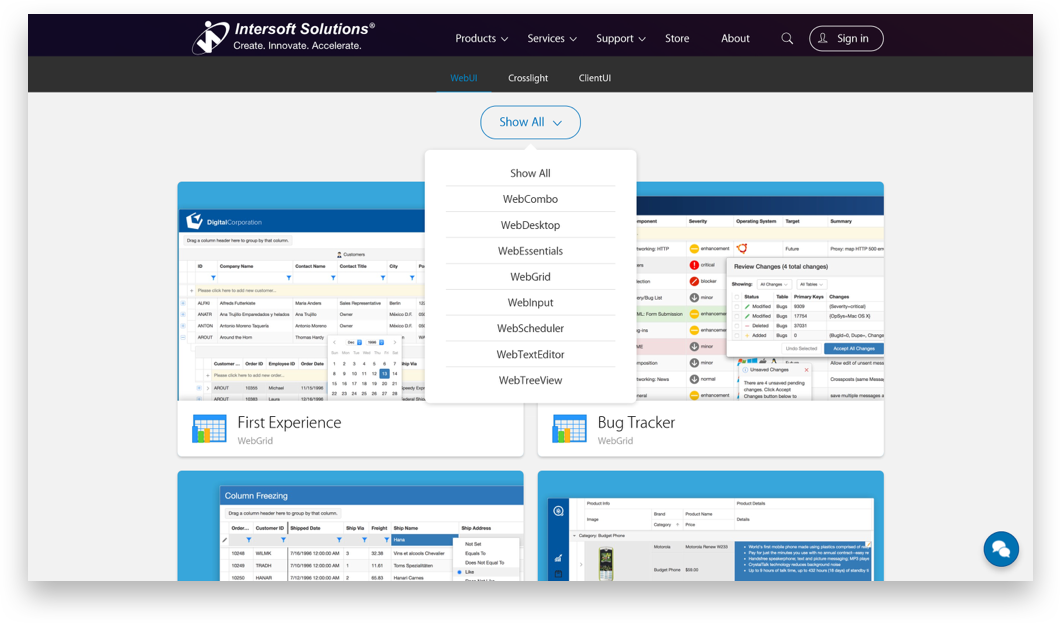
Simply select one of the products you would like to get started with, you will be immediately presented with the available samples designed in stunning card view interface. Then hover on the samples you’re interested in to perform an action.
Note that the Get Started experience works only on Windows with Premier Studio (2016 and above) properly installed.
Getting Started with WebUI
Nothing explains better than a video. Here’s a 1-minute video experience on how to get started with WebUI through the new Get Started experience.
The samples for WebUI is categorized according to its respective controls, so you can quickly jump to the controls you’re interested in.
When you hover on a sample, you’ll get the following experience.
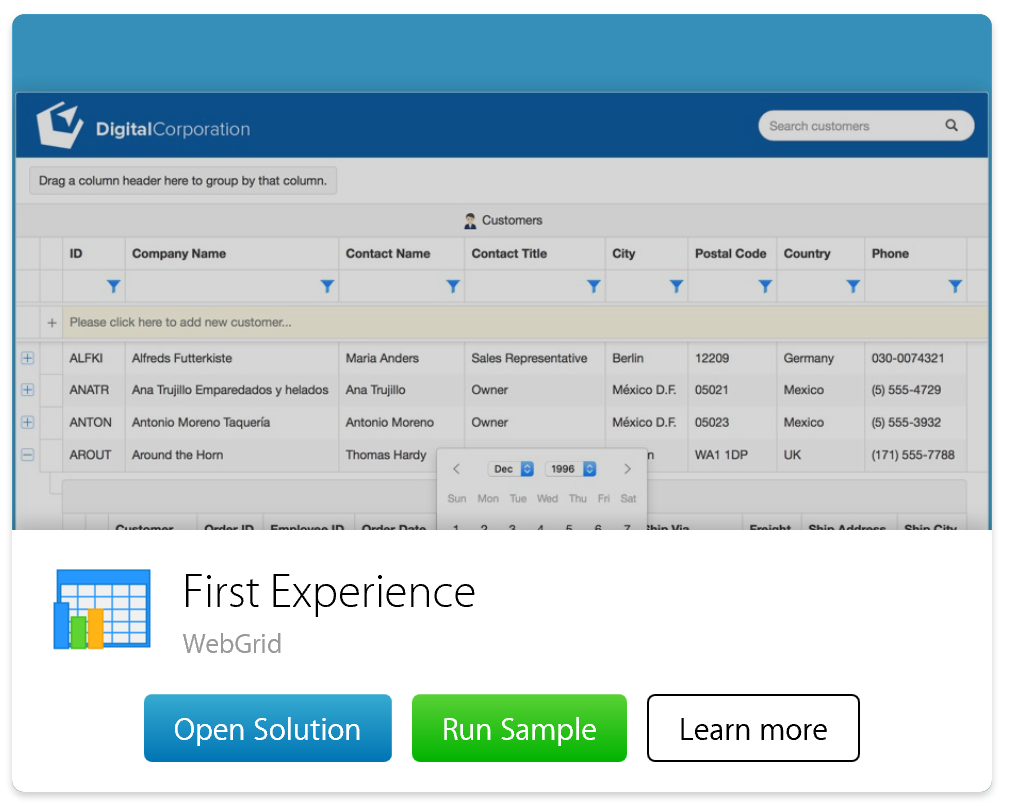
When you click on Open Solution, a new Visual Studio instance that contains the sample will be automatically opened. When you click on Run Sample, a locally-running sample for that particular sample will be launched. Clicking on Learn More takes you to the WebGrid documentation.
Getting Started with Crosslight
And here’s a minute-and-a-half video that shows the Get Started experience with Crosslight.
The samples for Crosslight are categorized as follows:
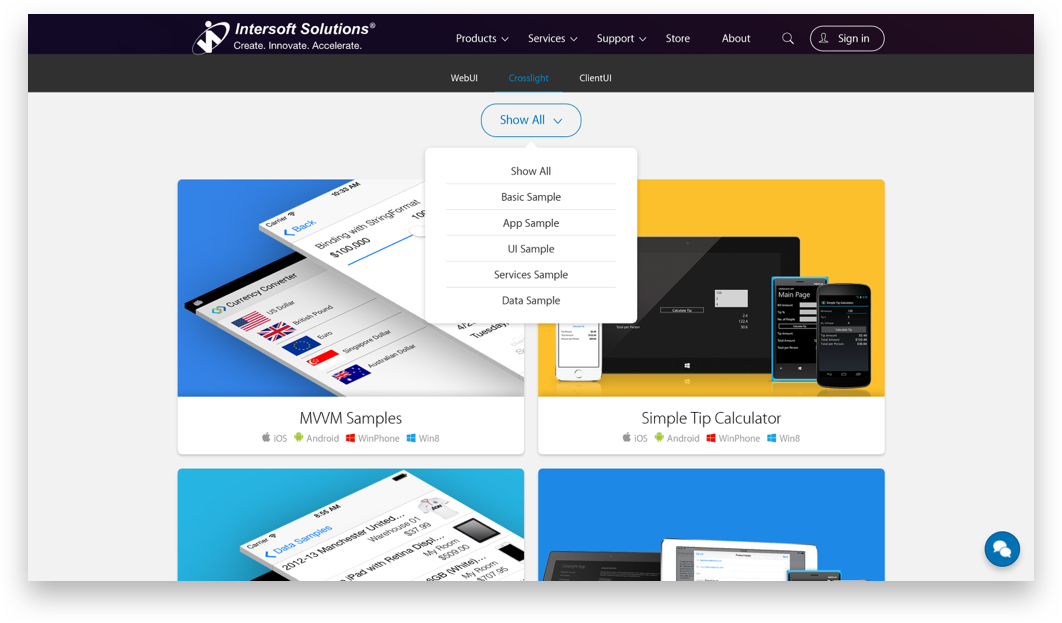
- Basic Samples: These are the basic and recommended samples if you’re just starting out with Crosslight. It contains the basic fundamentals of Crosslight development, such as MVVM pattern, data binding, display data list, perform CRUD operation, and more.
- App Samples: These samples showcases small, working apps made with Crosslight.
- UI Samples: These samples showcases various UI components available in Crosslight, such as Crosslight Charting, Crosslight Material Design, Crosslight Signature Pad, Crosslight Maps, Crosslight View Slider and more.
- Services Samples: These samples demonstrates how you can work with Crosslight services which are built-in to the Crosslight ViewModel and other library extensions as well. For example, performing calls, scanning barcode, sending emails, sharing content to social media and more.
- Data Samples: These samples shows you how to work with data-related operations with the built-in repositories and how they work together in harmony with the open-source Crosslight App Framework.
When you hover on an item, you’ll be presented with the following.
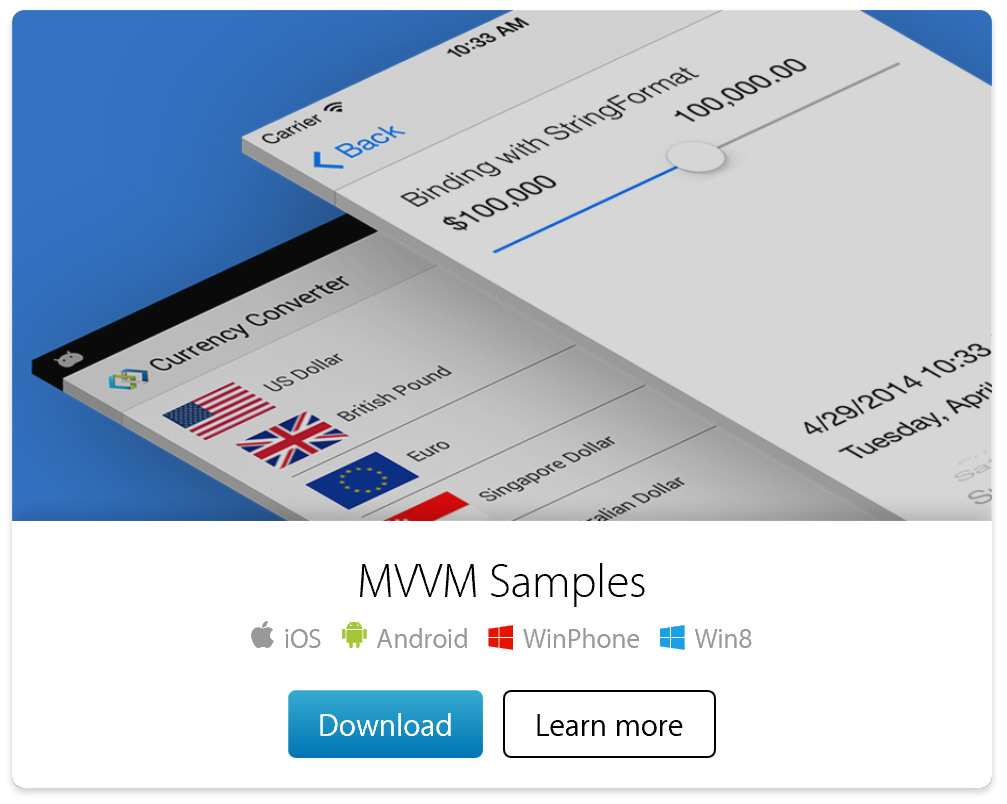
When you click on Download, you’ll immediately get a zip file that is immediately runnable using Xamarin Studio or Visual Studio (works on either Mac or Windows). If you click on Learn More, you’ll be taken to the respective sample page in the Developer Center.
Getting Started with ClientUI
Last but not least, here’s another minute-and-a-half video that shows the Get Started experience with ClientUI.
The samples for ClientUI are categorized as follows.
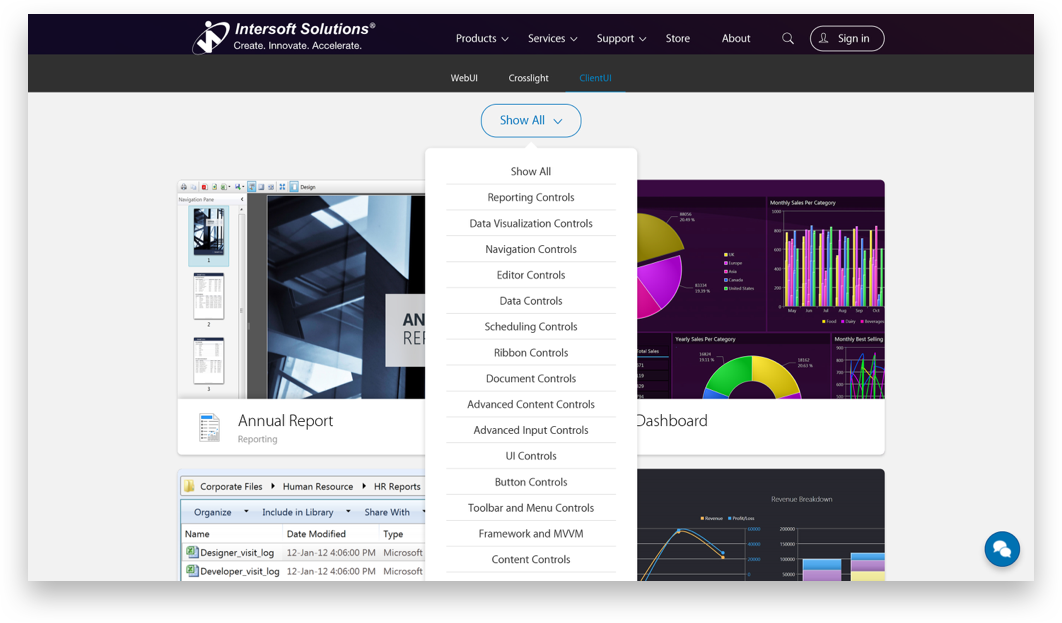
The categorization follows the previous categories available in the ClientUI Live Samples. When hovering to an item, you’ll be presented with the following experience.
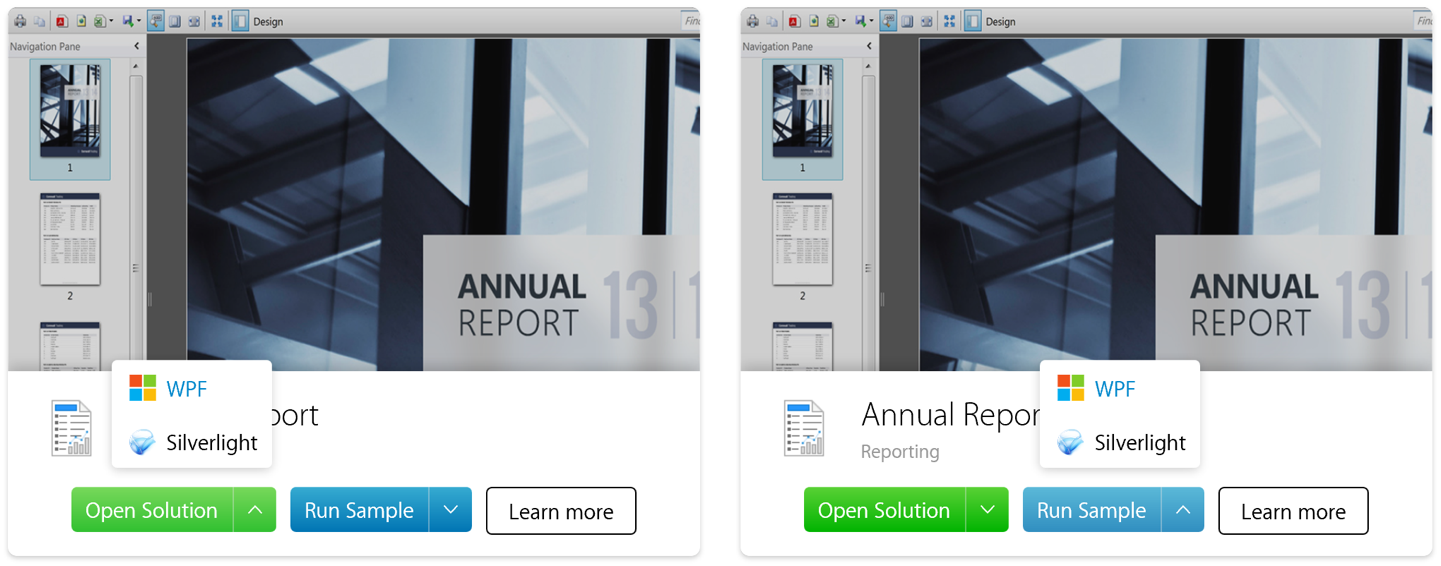
If the sample has a WPF counterpart, then an additional combo box will be displayed for WPF, as well as the Run Sample option. If the WPF counterpart is not available, then the combo box will not appear. When clicking on the Open Solution, then the Silverlight solution will be opened. Similarly, clicking on Run Sample will run the Silverlight sample locally on your computer.
Conclusion
We hope you enjoyed the new Getting Started experience available in this new release. Should you have any feedback with the Getting Started experience, feel free to initiate a chat with us, and we’ll be more than happy to assist you for the best on-boarding experience.
Till next post,
Nicholas Lie


